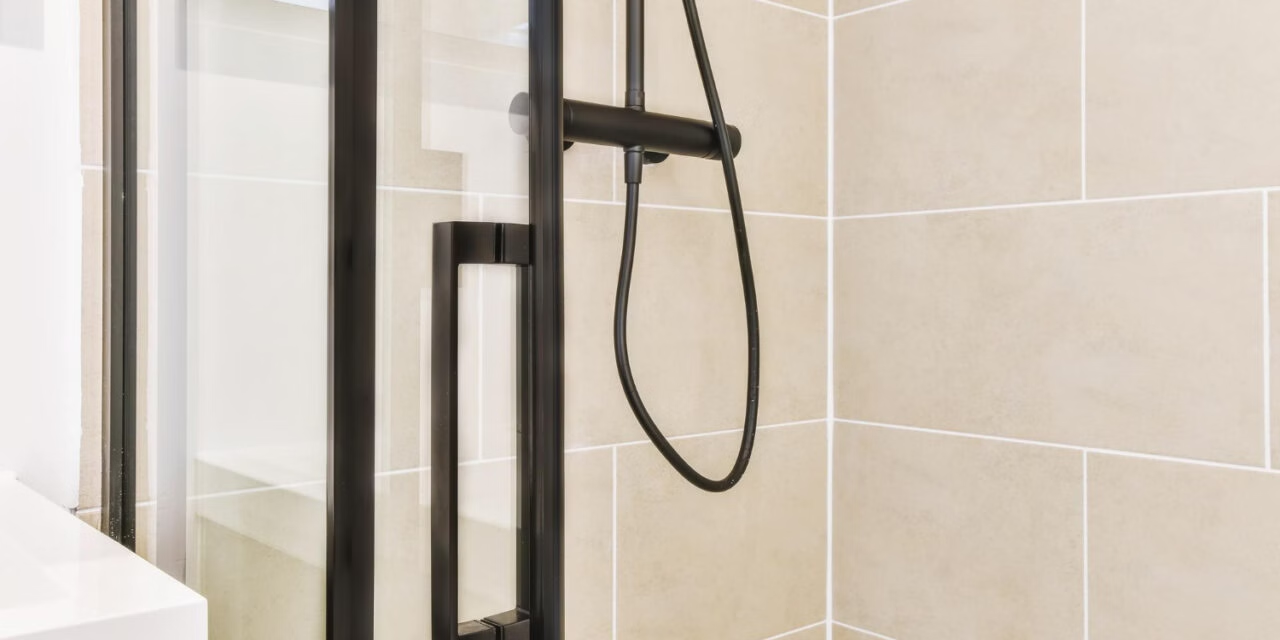
Revive Your Bathroom: A Guide to Shower Screen Broken Handle Repairs
The bathroom is a sanctuary, a place of relaxation and rejuvenation. Yet, even in this tranquil space, wear and tear can occur, affecting the functionality and aesthetic appeal. One common issue many homeowners face is broken shower screen handles. While seemingly minor, a broken handle can disrupt your daily routine and compromise the integrity of your shower enclosure. However, fear not, as handling this repair is easier than you might think.

Understanding the Problem
Shower screen handles are subjected to constant use, making them susceptible to damage over time. Whether it’s due to material fatigue, accidental impacts, or simply old age, broken handles can pose inconvenience and safety hazards. They may lead to difficulty in opening or closing the shower door, and in some cases, they can even cause injury if sharp edges are exposed.
Assessing the Damage
Before initiating any repairs, it’s crucial to assess the extent of the damage. Is the handle completely broken, or is it just loose? Are there any sharp edges that need to be addressed to prevent injury? Take a close look at the handle and surrounding areas to determine the best course of action.
Gathering Materials
Once you’ve assessed the damage, gather the necessary materials for the repair. This typically includes replacement handles, screws, a screwdriver, and possibly a drill if new holes need to be drilled. Ensure that you choose handles that are compatible with your shower screen model and are made of durable materials to withstand frequent use.

Step-by-Step Repair Process
Remove the Broken Handle: Use a screwdriver to carefully remove the screws holding the broken handle in place. Keep track of the screws to avoid misplacement. Once the screws are removed, gently pull the broken handle away from the shower screen.
Prepare for Replacement: If necessary, clean the area where the handle was attached to remove any dirt or debris. This will ensure a secure fit for the new handle. If the new handle requires drilling additional holes, use a pencil to mark the precise locations before drilling.
Install the New Handle: Place the new handle over the existing holes or align it with the marked positions. Insert the screws provided with the handle and use a screwdriver to tighten them securely. Ensure that the handle is firmly attached to the shower screen without any wobbling or movement.
Test the Functionality: Once the new handle is installed, test its functionality by opening and closing the shower door several times. Ensure that the handle operates smoothly and securely without any issues.
Safety Check: Finally, perform a safety check to ensure that there are no sharp edges or protruding parts that could pose a risk of injury. If necessary, use sandpaper to smooth out any rough edges.
Preventive Maintenance Tips
To prevent future handle breakages, consider implementing the following maintenance tips:
- Regularly inspect the handles and hardware for signs of wear and tear.
- Clean the handles and surrounding areas with mild soap and water to remove dirt and grime.
- Avoid using excessive force when opening or closing the shower door to prevent strain on the handles.
- If you notice any loose screws or fittings, tighten them immediately to prevent further damage.
Repairing broken shower screen handles is a simple yet essential task that can help restore functionality and safety to your bathroom. By following the step-by-step guide outlined above and implementing preventive maintenance measures, you can prolong the lifespan of your shower enclosure and ensure a pleasant bathing experience for years to come. So don’t let a broken handle dampen your spirits – take action today and revive your bathroom with ease.
Choose Speedy Shower Screens for a seamless experience that transforms your bathroom into a stylish and functional space. Get in contact us Melbourne’s best shower screen experts.
